
Source Identification
Compare interior moisture evidence with exterior roofing, flashing, penetrations, walls, drainage, and weather exposure.
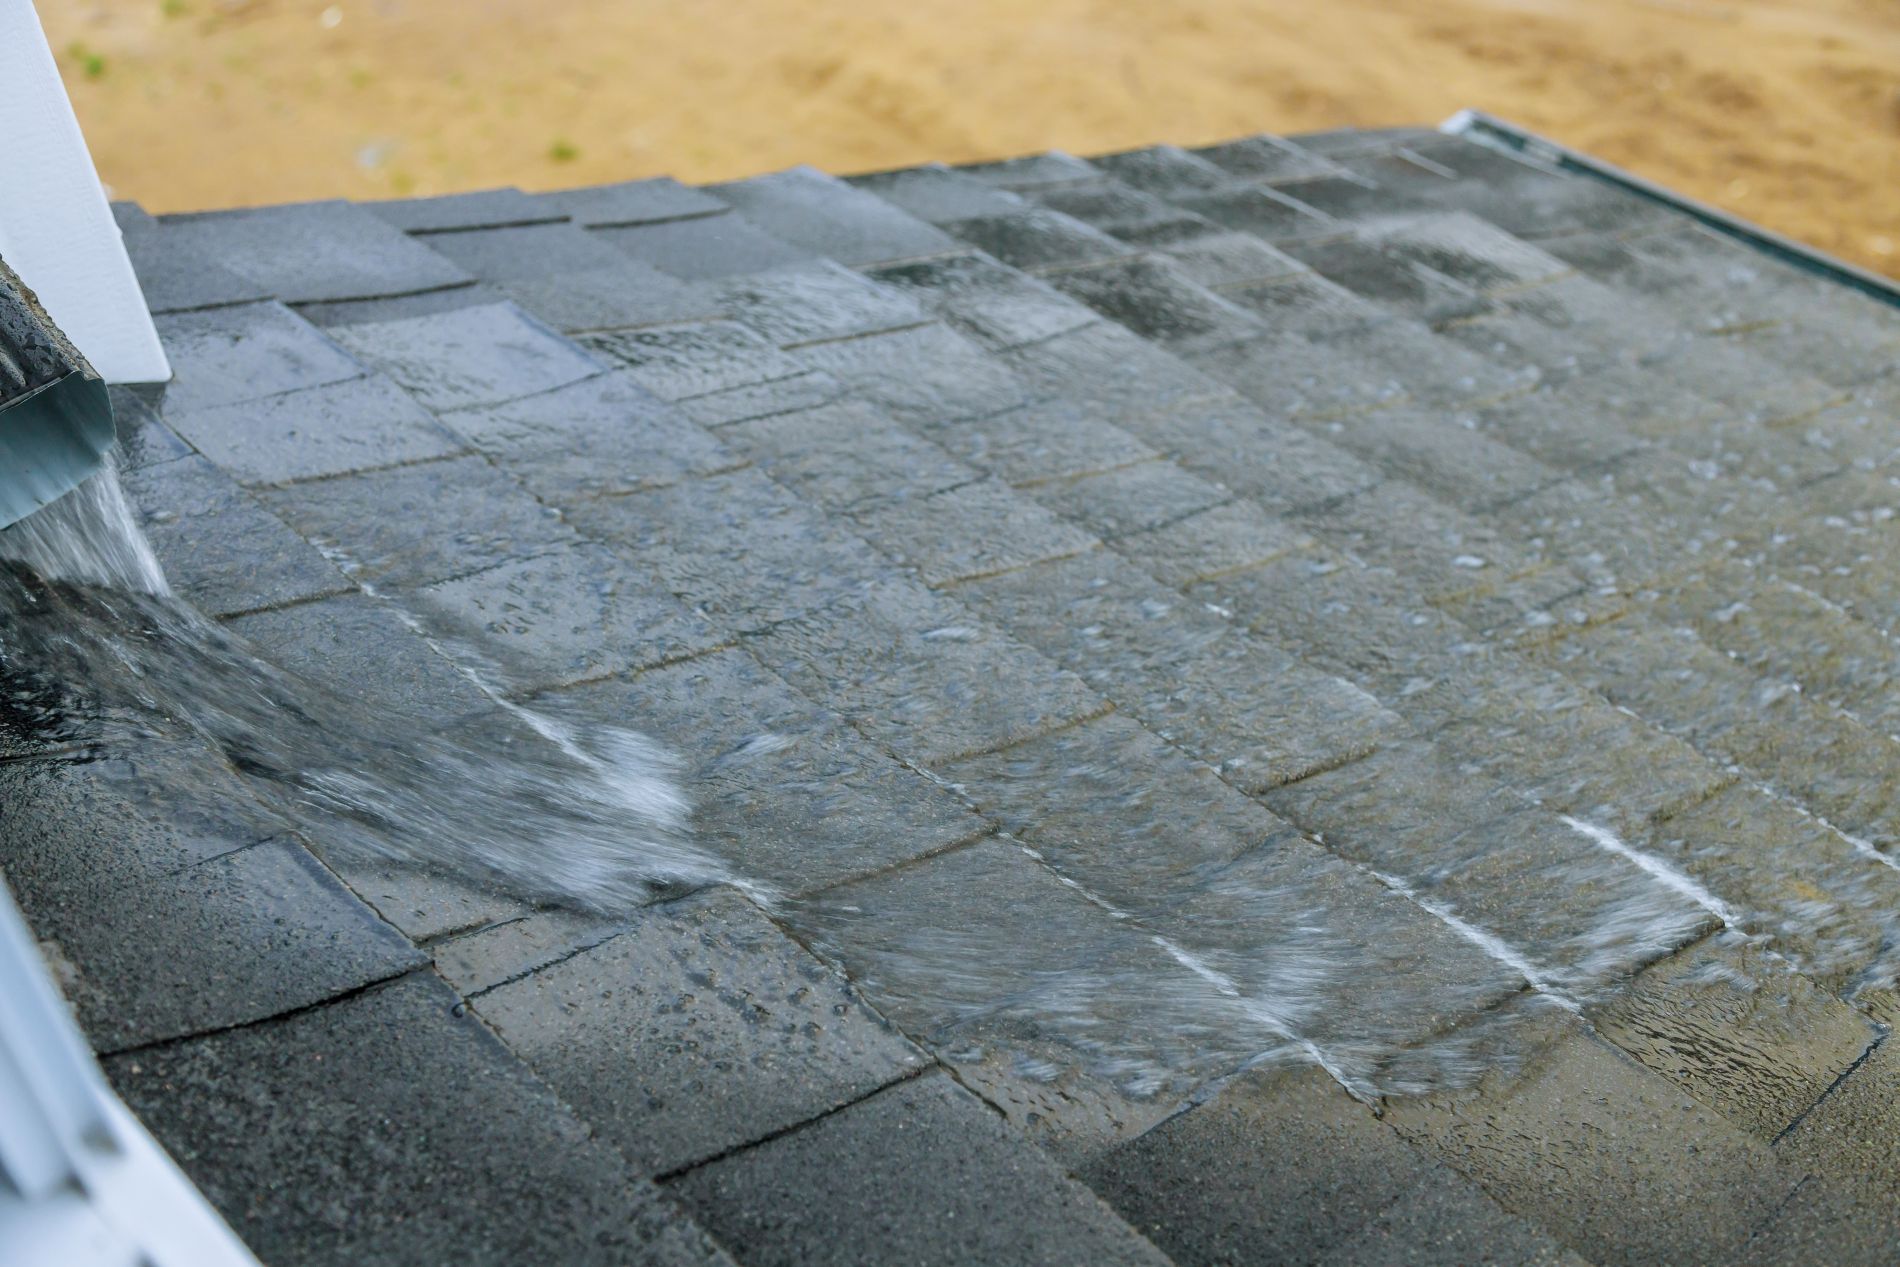
Roof leak repair focused on tracing the source of water intrusion, understanding how moisture is moving, and correcting the roof detail responsible for the problem.
Roof Leak Repair
SLM General Contractors provides roof leak investigation and repair for residential and commercial properties throughout McKinney and North Texas.
We examine roofing materials, flashing, penetrations, valleys, chimneys, walls, seams, drains, curbs, skylights, vents, roof edges, and concealed moisture paths before defining the repair.
Roof Leak Repair Overview
Water can enter through one roof detail, travel along decking, insulation, framing, fasteners, membranes, wall assemblies, or mechanical components, and become visible several feet away.
Effective roof leak repair begins by comparing the interior symptom with exterior roof conditions, recent weather, drainage patterns, vulnerable transitions, and the history of previous repairs.
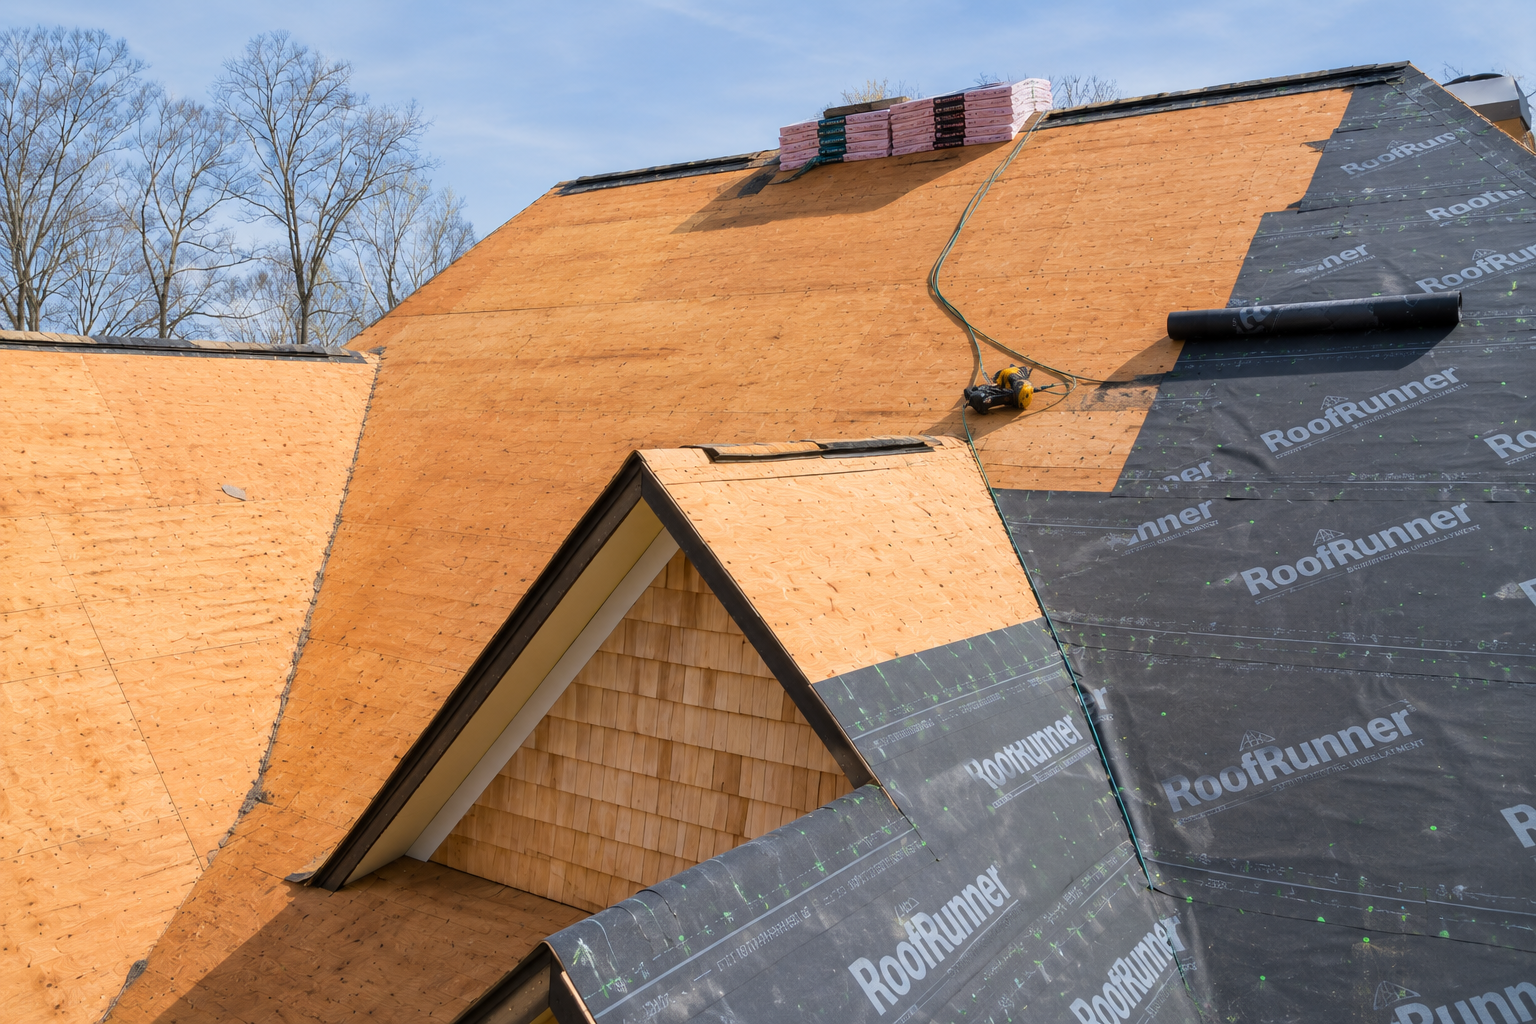
A roof leak is not always caused by the roofing material directly above the visible water. Flashing, wall intersections, chimneys, skylights, pipe boots, vents, seams, drains, low areas, equipment curbs, and roof edges can all create concealed entry points.
Some leaks appear only during wind-driven rain. Others develop after prolonged rainfall, clogged drainage, temperature changes, material movement, or rooftop service activity. Intermittent leaks can be especially difficult to diagnose because the roof may appear dry by the time the property is inspected.
This page is intentionally focused on water intrusion rather than broad roof repair. Standard roof repair covers many physical defects, while storm damage repair addresses weather-related impact. Roof leak repair concentrates on finding the active or recurring moisture source and correcting the detail that allows water to enter.
Compare interior moisture evidence with exterior roofing, flashing, penetrations, walls, drainage, and weather exposure.
Consider how water may travel across the roof, beneath materials, through cavities, or along structural and mechanical components.
Repair the failed roof detail rather than applying sealant only to the interior stain or the nearest visible roof surface.
Recognize that wet insulation, decking, ceilings, walls, finishes, and concealed cavities may require attention beyond the exterior roof repair.
What We Inspect
A leak may involve one failed component or several overlapping conditions. Roof geometry, drainage, aging materials, movement, wind exposure, previous repairs, and adjoining walls can all influence where water enters and where it eventually becomes visible.
The inspection scope is built around the actual symptom and roof type, not a generic assumption that every stain is caused by a missing shingle or an open membrane seam.
Inspect cracked, lifted, punctured, displaced, deteriorated, open, or improperly terminated roofing materials that may permit water to reach the underlayment or roof deck.
Review the metal and membrane details that direct water away from chimneys, parapets, sidewalls, headwalls, step conditions, counterflashing, and changes in elevation.
Inspect boots, collars, curbs, seals, flashings, fasteners, and roofing transitions around plumbing vents, exhausts, conduits, pipes, antennas, and other roof penetrations.
Evaluate curbs, glazing transitions, perimeter flashing, surrounding roofing, condensation potential, and water collection around skylights and roof hatches.
Review high-volume water paths where roof slopes converge, walls interrupt drainage, debris accumulates, or low areas hold water longer than surrounding roof surfaces.
Inspect HVAC curbs, supports, drains, pitch pockets, equipment transitions, service penetrations, walk paths, and membrane details around rooftop systems.
Review clogged, undersized, disconnected, deteriorated, poorly sloped, or obstructed drainage components that may cause water to back up or spill into vulnerable roof areas.
Examine perimeter metal, eaves, soffits, fascia, rake edges, copings, exposed fasteners, wall interfaces, and conditions where wind can drive water beneath otherwise intact materials.
Roof Leak Scenarios
Roof leaks can be active, intermittent, recurring, concealed, weather-specific, or connected to commercial equipment and drainage. The investigation must reflect how and when the moisture appears, not just where the stain is located.
Active leaks may appear as ceiling drips, wet drywall, attic moisture, stained decking, damp insulation, or water near a wall, chimney, skylight, vent, valley, or roof edge.
The visible interior location is compared with roof slope, framing direction, nearby penetrations, flashing, valleys, underlayment, and recent weather to narrow the possible source.
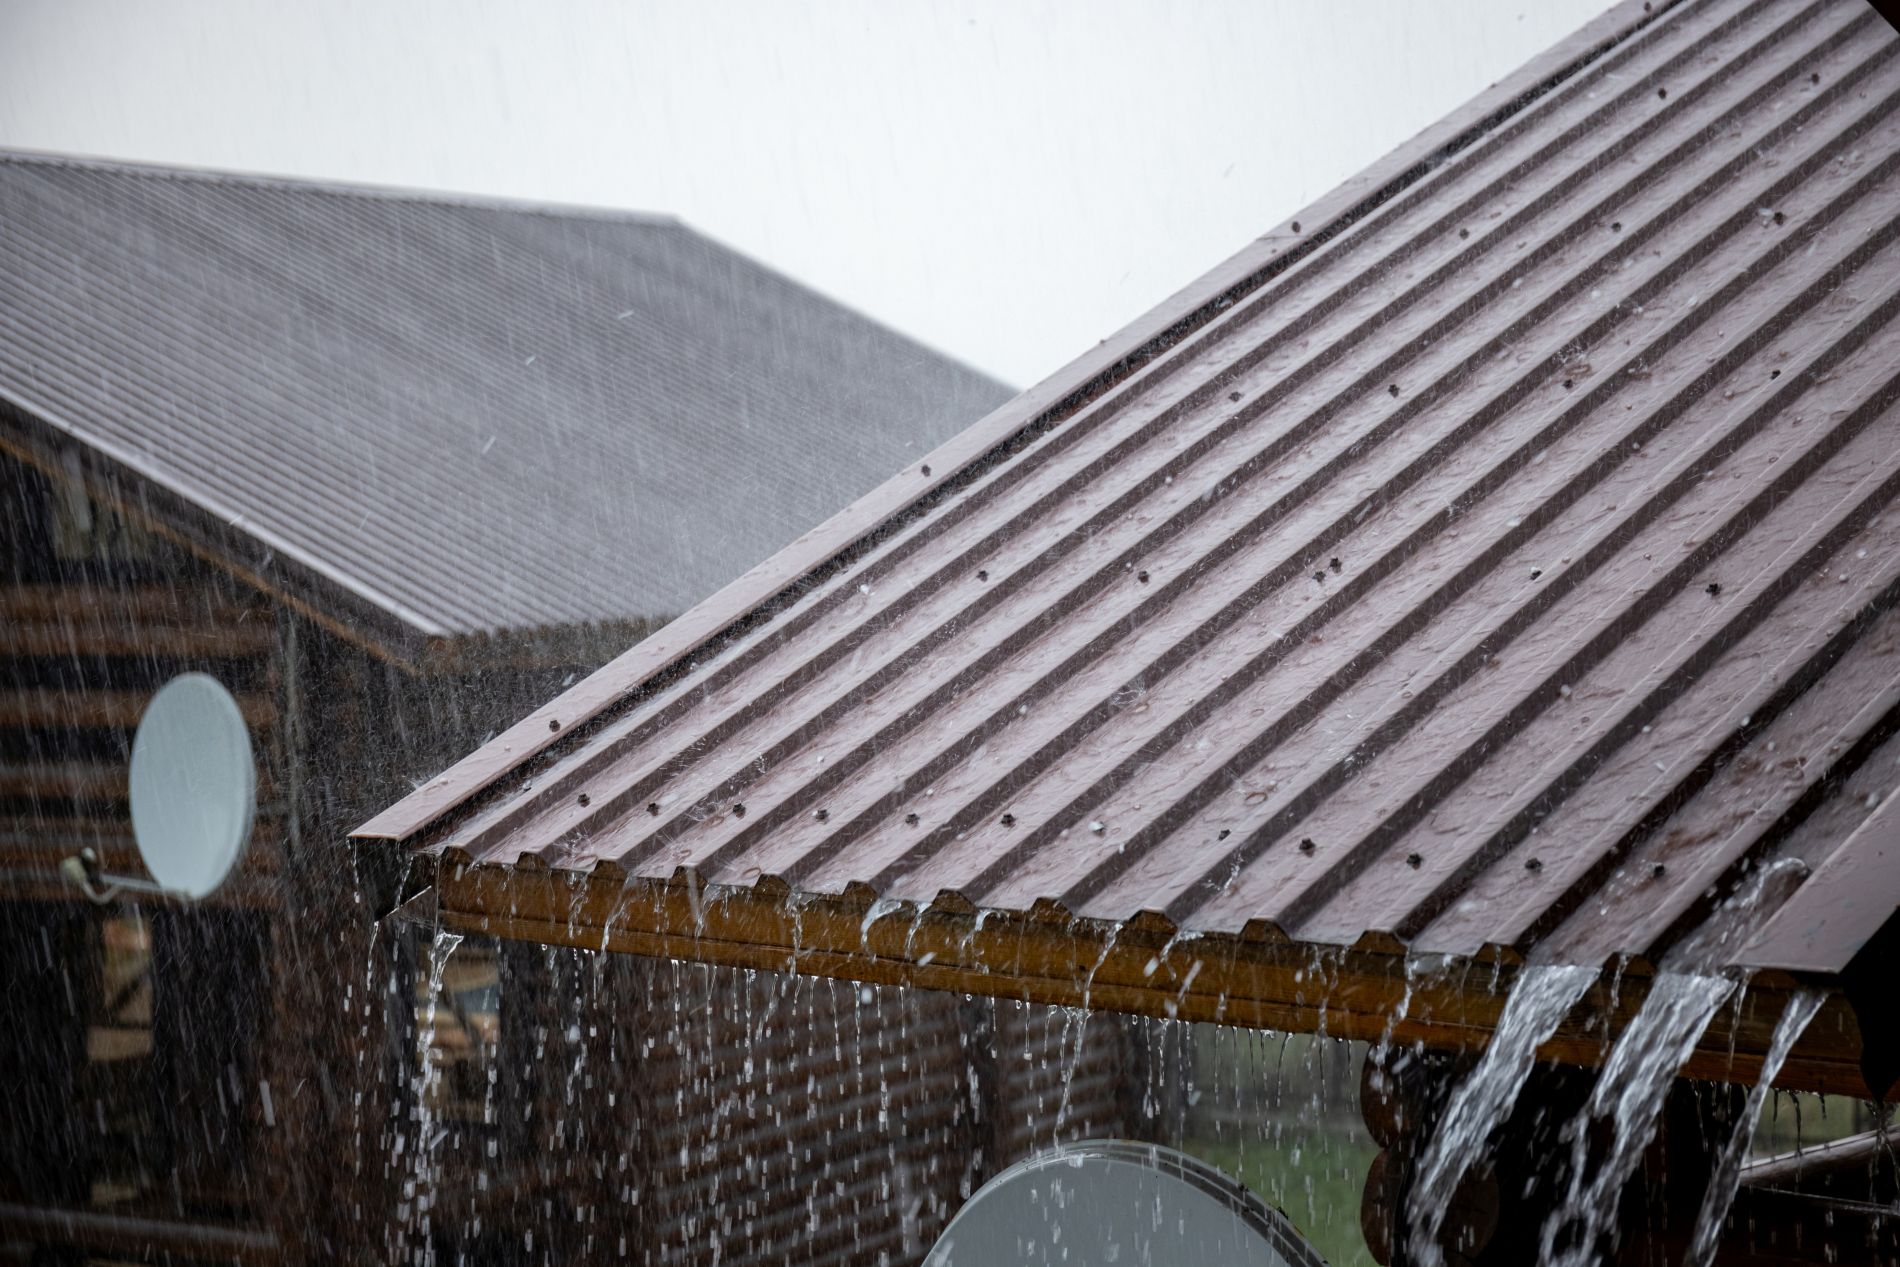
Commercial leaks may involve large roof areas, membrane seams, equipment curbs, drains, scuppers, parapets, walls, pitch pockets, roof hatches, conduits, service traffic, or concealed moisture within insulation systems.
Investigation often requires comparing interior operations and ceiling locations with rooftop equipment, drainage patterns, membrane details, prior repairs, and the direction of recent storms.
A recurring leak may indicate that the original repair addressed only a surface symptom, that water is entering through a nearby detail, or that several defects are contributing to the same interior moisture location.
Previous sealants, patches, coatings, fasteners, flashing repairs, and membrane overlays are reviewed as part of the larger roof area rather than automatically treated as the current source.

Some roofs remain dry during ordinary rainfall but leak when wind pushes water beneath edges, wall transitions, flashings, copings, vents, siding interfaces, or materials exposed from a particular direction.
These conditions are evaluated against storm direction, roof geometry, nearby walls, overhangs, drainage, and the timing of the interior symptom. The source may not be visible during calm, dry weather.
Our Roof Leak Repair Process
Roof leak repair requires a different process from broad roof maintenance or storm restoration. The work begins with the moisture symptom, follows the likely water path, evaluates vulnerable roof details, and defines a repair around the actual failure.
We begin by discussing when the leak appears, how long it lasts, whether wind direction matters, previous repair attempts, roof age, storm timing, and changes to the building or rooftop systems. Accessible interior moisture, stains, ceilings, walls, attic areas, and equipment locations are reviewed when applicable.
The team evaluates accessible roofing materials, flashing, penetrations, valleys, walls, seams, drains, scuppers, curbs, skylights, edges, low areas, previous repairs, and conditions that align with the interior symptom.
We compare roof geometry, drainage, framing, material laps, concealed travel paths, weather direction, and visible defects to determine the most likely source and the scope needed to create a durable correction.
The approved work may include replacing damaged roofing, rebuilding flashing, correcting a penetration, repairing seams, improving drainage, replacing deteriorated boots or curbs, or opening a limited area to address concealed conditions.
We review the completed repair area, surrounding roof details, cleanup, drainage, and visible transitions, then explain what the property owner should monitor during future rainfall, especially when the original leak was intermittent.
Frequently Asked Questions
Water may enter at a flashing, seam, penetration, valley, wall, drain, curb, or roof edge and then travel along decking, insulation, framing, fasteners, pipes, or interior surfaces. Gravity, wind, roof slope, and concealed cavities can move moisture away from the original opening.
The ceiling stain therefore identifies where water became visible, not necessarily where it entered the roof. Interior and exterior observations must be compared before a repair location is chosen.
Helpful Resources: Whole Building Design Guide • EPA Mold and Moisture Resources
A limited opening can allow repeated moisture into insulation, decking, framing, ceilings, walls, finishes, electrical areas, or stored contents. The visible amount of water may not reflect how long the concealed materials have remained damp.
Prompt investigation is important because recurring moisture can enlarge the damaged area even when the interior symptom appears only during certain storms.
Helpful Resources: EPA Mold Guidance • Ready.gov Water Damage Preparedness
Heavy rainfall may overwhelm slow drainage, expose low areas, or keep roof details wet long enough for water to reach a concealed opening. Wind can push rain beneath edges, flashings, siding, copings, vents, or material laps that remain dry during ordinary storms.
The storm direction, duration, rainfall intensity, and timing of the interior symptom can provide useful clues when the roof appears normal during dry-weather inspection.
Helpful Resources: National Weather Service Flood Safety • FEMA Roofing Guidance
Sealant can be appropriate within certain roof details, but applying it broadly over a suspected area does not correct damaged flashing, failed material laps, deteriorated boots, loose membranes, drainage problems, or concealed deck conditions.
A durable repair should address the construction detail that allows water to enter. Repeated surface caulking can sometimes hide the symptom temporarily without resolving the underlying failure.
Helpful Resources: National Roofing Contractors Association • Whole Building Design Guide
Useful information includes when the leak began, whether it is active, which rooms or roof areas are affected, the weather conditions when it appears, previous repair history, roof age, and whether rooftop work or equipment service occurred recently.
Photos of the interior symptom and notes about rainfall timing can help establish patterns, although the source still requires comparison with exterior roof conditions.
Helpful Resources: Ready.gov Home Safety Planning • EPA Moisture Documentation Guidance